Business events provide a gateway to forge new partnerships, unlock valuable learning opportunities, and explore avenues for market expansion. The first impression often starts with the registration process, therefore it is crucial to make professional and effective event registration forms.
This article aims to guide you through creating a well-designed, user-friendly online event registration form with a no-code builder. We'll walk you through each step, from design to data collection, ensuring that your online registration form not only serves its functional purpose but also sets the tone for a successful event.
Let's turn that first interaction into a lasting impression.
Step 1: Get Ready for Your Online Event Registration Form
Before we go into details of creating an event registration form, it's important to have a clear understanding of your needs and design elements. Below are some key aspects you should consider.
Assess Your Needs
First of all, determine what kinds of information you need from event attendees. At a minimum, you should collect:
Contact details: Full name, phone number and email address.
Professional details: Company, job title, etc.
Attendance specifics: Number of guests, preferred sessions or workshops
Consider any unique requirements related to your event type. For instance, if it's a technical conference, you can include the attendee’s level of expertise in the subject matter.
Custom questions add a personal touch to your registration form and can provide insights that generic questions can't.
For example:
What do you hope to gain from this event?
Do you have any dietary preferences?
Would you like to opt-in for breakout sessions or additional activities?
Decide on Design Elements
Consistency is key in branding. An interactive and responsive registration form is an extension of your brand identity. This involves:
Using the color scheme that represents your brand.
Incorporating your company logo.
Matching the typography to that of your other branded materials.
Nobody enjoys filling out a long, boring form. To keep potential attendees engaged, consider the following:
Use images: Add relevant pictures or graphics that complement the event theme.
Simplify the layout: Make sure it's clean, uncluttered, and easy to navigate.
Step 2: Choose a No-code Builder
There are a number of online form builder plugins available.
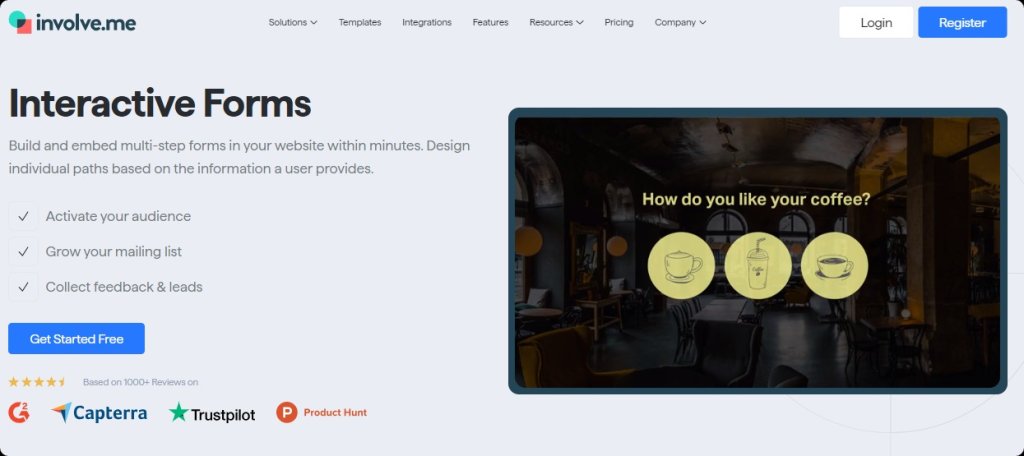
I am creating the form using involve.me platform. It offers a user-friendly interface that requires zero coding skills, perfect for anyone to use.
Beyond basic data collection, the platform provides advanced features for data analysis and can smoothly integrate with your existing CRM or marketing tools, making it the ideal choice for professional event registration.
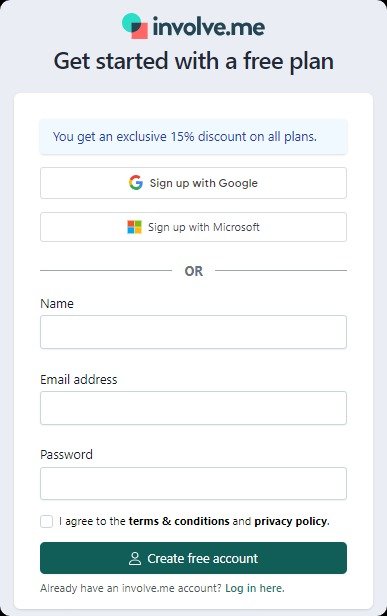
You can easily register using your Google or Microsoft account for quick access. Alternatively, you can use your email address to create an account, followed by a prompt confirmation email to secure your login. Once you're logged in, explore the platform's features and start building your event registration form.
Create Your Own Product Finder
Get Started with 300+ Templates
Step 3: Select a Template or Start from Scratch
Now it's time to decide on the framework for your event registration form. You have 2 options:
First Option: Use Online Event Registration Form Templates:
Navigate to the "Templates" section within the platform.
Browse through several templates designed for different purposes. Since you're focusing on event registration, filter the options to only show event registration form templates.
Once you find a template that aligns with your event's theme and requirements, click on it to preview and then select "Use This Template" to get started.
Create Your Own Event Registration Forms
Get Started with 350+ Templates
Second Option: Create a New Form from Scratch
If you want to build your form from the ground up, select the "Create New Project" option. You'll be taken to a blank canvas where you can begin adding your content elements.

Step 4: Name Your Project
The next crucial step is to name your project. This is important not only for your own organizational purposes but also for presenting a coherent brand message to your attendees.
For example, let's say you're organizing a marketing conference aimed at business clients. A suitable project name could be "Marketing Event Registration," which succinctly conveys the purpose of the form and resonates with the target audience.

Choosing the Project Type
For an event registration form, a recommended project type is the "Thank You Page." This type of project provides immediate confirmation to attendees that their registration is complete and their spot at the event is secured.
Step 5: Customize Your Template
Customizing your event registration form involves adding relevant questions, form fields, and branding elements. This step ensures that the form captures all the needed information while also embodying your brand's identity. You can change the font, color, background of your form using different design elements from “Content Elements”.
Insert your company logo at a prominent place, like the header, to ensure instant brand recognition.
Use your brand’s color scheme for elements like buttons, headers, and checkboxes to maintain a cohesive look.
Make sure the fonts used align with your brand’s typography for consistency.
Adding Questions and Form Fields
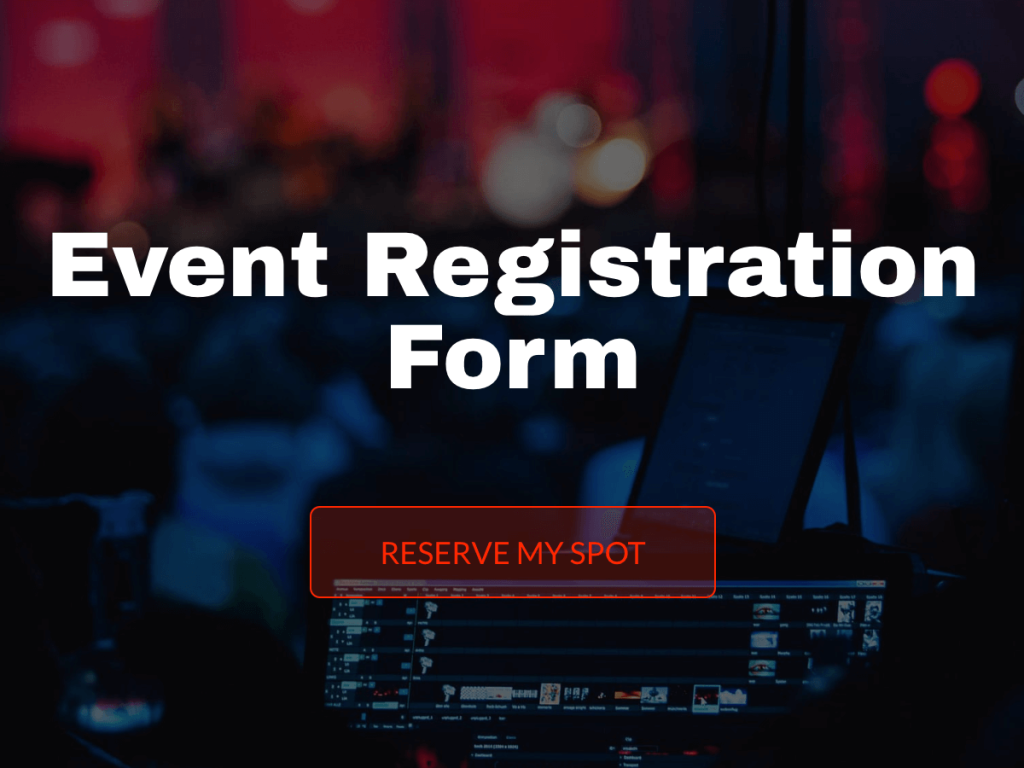
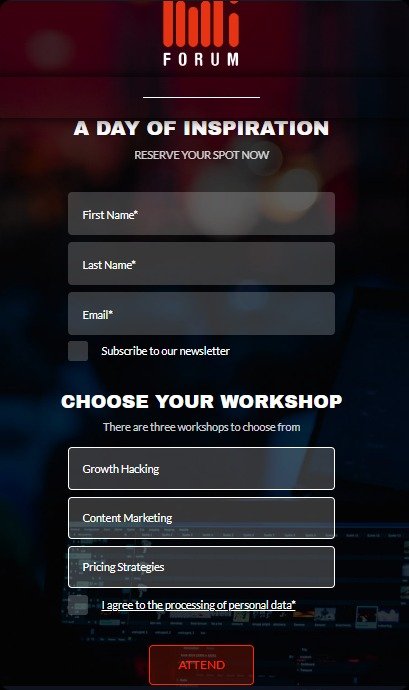
First Page: Begin by adding essential event details and a relevant image to set the tone. Drag and drop a button from the content elements and label it "Reserve My Spot."

Second Page: Here, include fields for collecting basic information like name and email.
Pro tip: Utilize the opt-in checkbox that allows clients to subscribe to your newsletter.
Multiple Choice Question: Add a multiple-choice section to let clients choose from different workshop options. You can also add other field types, like payment options.
Data Processing Opt-In: Insert another opt-in checkbox for agreeing to the processing of personal data. Link this checkbox to a pop-up that explains your data processing agreement in detail.
Final Button: Add a concluding button labeled "Attend" to submit the form.
Post-Submission Experience
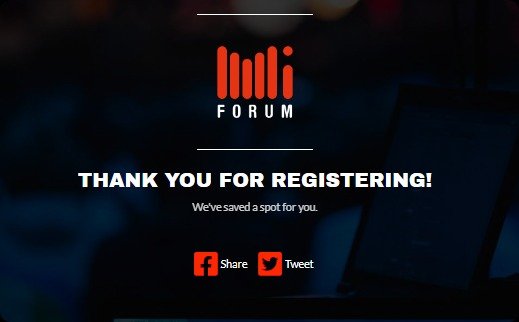
Add a thank you page that direct clients after they click "Attend." Include a message confirming their registration and thanking them for their interest. Also, add sharing buttons, allowing your audience to easily share your event form with their networks.
Step 6: Integrate with Other Platforms (Optional)
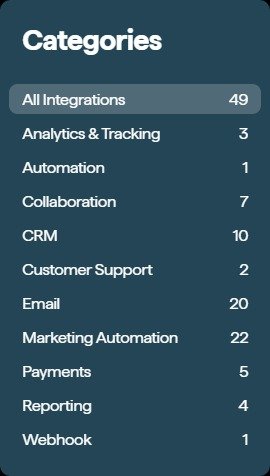
You can also integrate your form with other platforms for data collection or to facilitate online payments. For example:
Email Marketing: Connect your form to platforms like Mailchimp to automatically add new sign-ups to your mailing list.
CRM Systems: Integration with CRM systems like Salesforce or HubSpot allows you to automatically update client records or create new leads when someone registers.
Step 7: Preview and Publish
Before publishing, it’s crucial to preview your form to ensure everything looks and works as it should. Once you’re satisfied, you’re ready to go live. Click on the "Publish" button to make your form accessible to your audience.

Step 8: Share Your Event Form
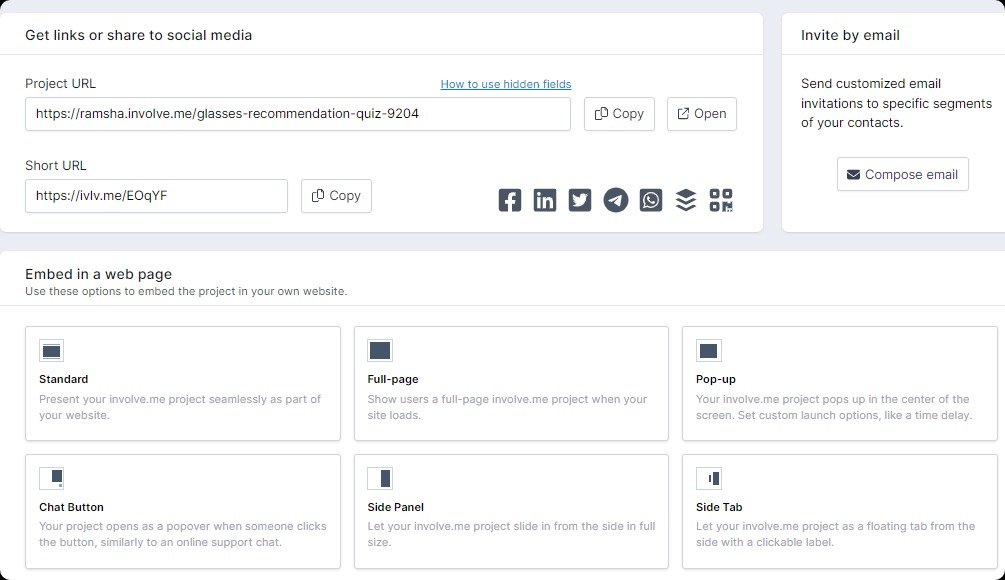
Your beautiful form is now live, but the final step is getting it in front of the eyes of potential attendees. involve.me offers following options:
Direct Link: Generate a direct shareable link to the form and distribute it via email or messaging platforms.
Embed in Website: If you have an event landing page, you can embed the form there. This is is how you will create a registration link for an event.
Social Sharing: Use the platform’s built-in social sharing options to post your form on networks like Facebook, Twitter, or LinkedIn.
QR Code: Generate a QR code that, when scanned, directs people to the registration form.
Invite by Email: Send out personalized email invitations with the form link included.
Collecting Form Responses
involve.me offers powerful analytics capabilities, providing you with invaluable insights into how your event registration form is performing. You can even process registration fees for upcoming events if your event requires an entry fee.
Understanding this data can help you fine-tune your form for greater efficiency and higher conversion rates.
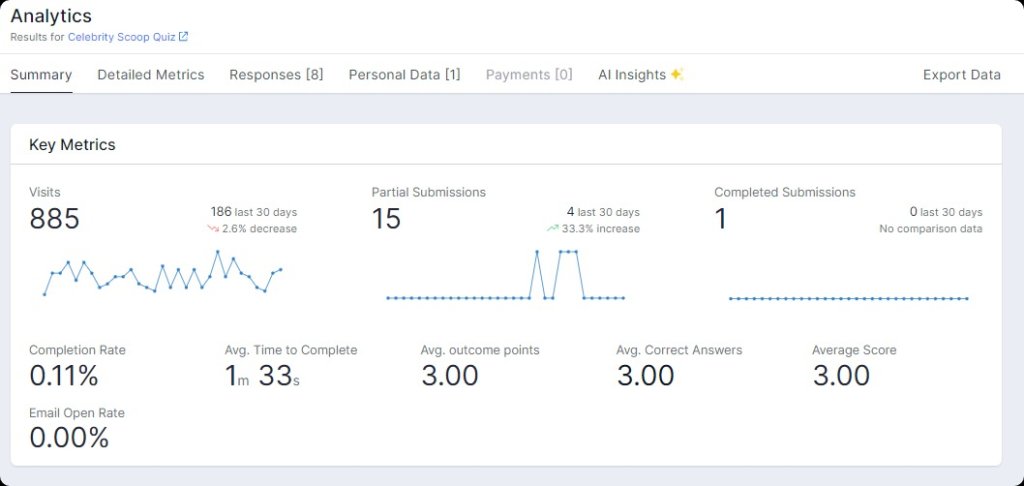
Responses Summary & Key Metrics
These metrics offer a snapshot of your form’s performance, including key statistics like the number of visits, submissions, completion rate, and the average time it takes for a user to complete the form.
Detailed Metrics
Detailed metrics take you a step further by showing the user funnel—where visitors start interacting, where they drop out, and where they complete submissions. This feature allows you to pinpoint areas that may need improvement for better user engagement and conversion.
Responses, Personal Data, Payments
You can view individual responses, collect personal data compliantly, and even process payments if your event requires an entry fee.
AI-Generated Reports
involve.me now offers AI-generated reports, offering deep insights into your audience’s behavior and preferences without requiring you to sift through vast amounts of raw data.
Exporting Data
For advanced analysis or for integration with other tools, involve.me allows you to export your collected data easily. Whether you're exporting it into a spreadsheet or directly into a CRM or other analytics tool, the process is straightforward and simple.
Final Words
With the right approach and tools, event organizers can create registration forms that serve as a strong starting point in creating a memorable and successful event. Platforms like involve.me simplify this process, offering a no-code, user-friendly interface alongside analytics tools and pre-built event registration form templates to help you create forms in minutes.
So why not create a virtual event registration form that not only gathers essential information but also enhances the attendee experience? Get started now!


